The bathroom is likely the last area of your home that you wish to clean. You can find all sorts of build-up in the bathroom, from mold to soap scum. However, it’s not wise to delay a bathroom cleaning since it can become detrimental to your health. A dirty bathroom could harbor mold, mildew, germs, and bacteria that cause infections and diseases.
There’s still hope! The before and after photos you are about to see would prove that your bathroom can be cleaned quickly and simply. With the right combination of products and approach, you should be able to have your bathroom in tip top condition within an hour, even restoring that pristine coastal themed look you had when you first moved in! Here’re a few common problem areas and their before & after pictures:
Tackling the Bathroom Sink
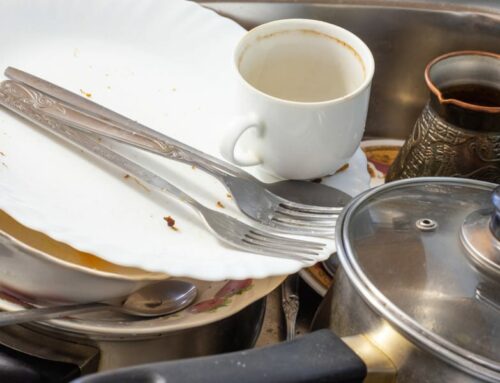
Do you know that sinks carry more bacteria than toilet bowls? Yes, your dirty hands are responsible for bringing in all kinds of dirt to these innocent sinks. Studies show that sinks are more contaminated, having more fecal bacteria than there is in a flushed toilet.
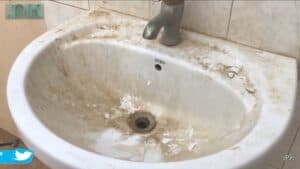
This particular bathroom sink was cleaned using just two natural ingredients of vinegar and baking soda. First, mix baking soda and vinegar in a bowl to form a paste. Second, slather liberal amounts of the paste all over the sink and scrub gently. You may need to spend more time scrubbing the nasty bits.
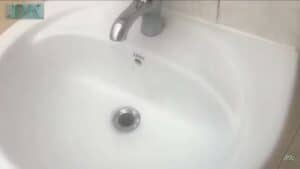
Afterwards, let the natural foaming solution sit for 10-15 minutes, and rinse off with clean water. We recommend using a disinfecting bathroom cleaner afterwards to disinfect your sink and faucet handle for a perfect cleanup.
Scrubbing Your Bathtub
Being surrounded by mold, green or black yucky bits would kill the enjoyment out of soaking in a tub. For a fresh and relaxing bath, you want to ensure your tub is as clean as possible before filling it up.
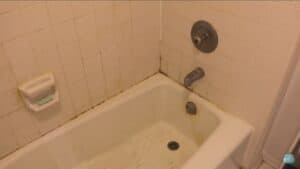
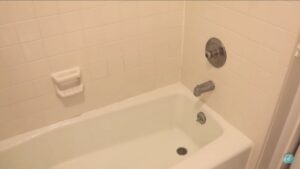
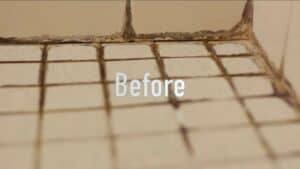
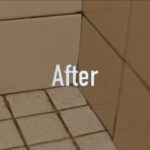
How did we transform the bathtub on the left from brown into sparkling white? We shouldn’t be reveal this to you, it’s a professional cleaning company’s best kept secret – the use of toilet bowl cleaners! Most of the name brand toilet cleaners can be used to clean your bathtub, tiles and sinks too. You can find this info written on the manufacturer’s label.
On this particular home, toilet bowl cleaner was applied on the grout lines and bathtub. Paper towels were used to “hold the solution” in placed around the moldy spots. After letting the cleaning solution sit for 30 minutes; the entire tub was rinsed off. For tougher stains, you may need to leave the paper towel on there overnight.
Optional: For tough stains, you can also employ the use of a magic eraser and more elbow grease.
The Dreaded Toilet Bowl
Let’s be honest, this is arguably the nastiest area to work on. We do not want to be cleaning up poop residue. Unfortunately, a failure to clean the toilet bowls properly may lead to a risk of gastrointestinal viruses caused by dirty toilet bowl/seats.


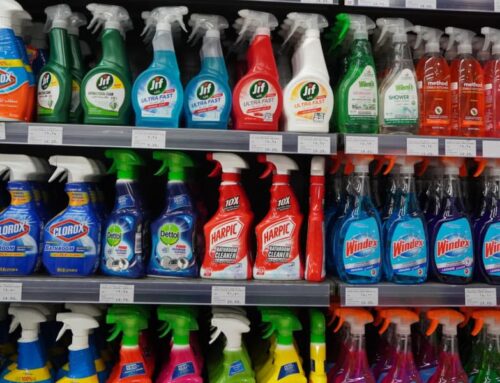
In order to clean the toilets properly, we recommend using a name brand toilet bowl cleaner such as Clorox, Lysol or Lime-away. We’ve found most products to be just as effective. For a simple long term solution, consider installing a toilet tank cleaner that will clean whenever you flush e.g. Kaboom Continuous Clean, Clorox Automatic Toilet Bowl Cleaner, Iron OUT Automatic Toilet Bowl, etc.
The way our house cleaners approach a dirty toilet, is to first apply toilet bowl cleaner in the toilet bowl, then leave it there for five minutes while we clean other areas of the bathroom. You want to get the solutions as close to the top edge as possible. In a few minutes, scrub off the stains using a firm bristle toilet brush, then flush to rinse. During move outs: We bring a pumice stone for every move out cleaning. Use a Pumice Scouring Stick to remove hard water “rings” that have accumulated over the years.
Bathroom Tiles and Grouts For Last
Mold is difficult to keep at bay, especially in humid environments like the bathroom. A bathroom vent/fan can help prevent mold growth as it keeps your bathrooms from being too humid for too long. Check if yours is still working.
Specialize grout cleaners are not always necessary for cleaning grout. Any name brand toilet bowl cleaner should work.
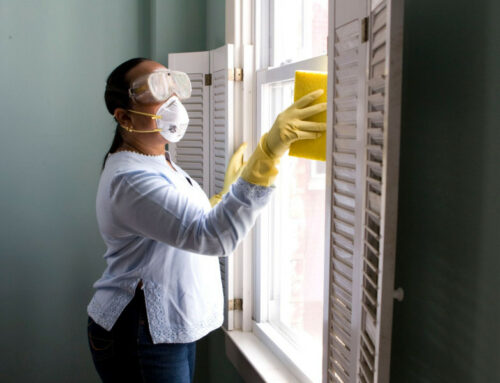
Before you start cleaning, don proper footwear and gloves as these products can burn your skin. Next, pour your chosen product over the floor tiles and grout lines. Do spread it evenly all over the floor with a brush and let is sit for 30mins. Then, using a hard bristle brush, scrub off the dirt and stains. A toothbrush may be necessary to get into hard-to-reach corners. Rinse off thoroughly at the end.
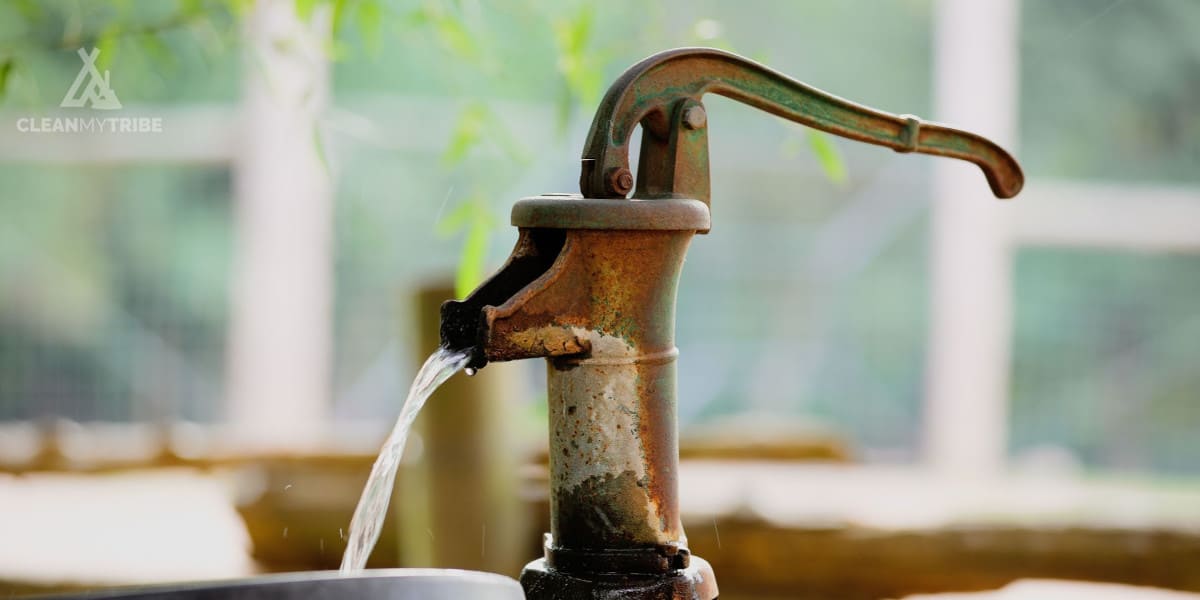
Rust Removal
After you’ve completely cleared out the mildew and mold, let’s work on shining the faucets. Faucets are the most operated bathroom fixture. With such frequent use, stains, spots, limescale, and rust does accumulate faster than the rest of the bathroom. Hence your faucets may require replacing in just a few years. Often, this is caused by structural deterioration due to rust.
Rusting is a result of iron, water, and oxygen chemically reacting; with the constant presence of water, rusting is further accelerated. Although the best way to prevent rust is to keep your surfaces dry, this isn’t feasible in the bathrooms. When iron comes in contact with oxygen in the air – corrosion occurs.
Before attempting to clean or polish your faucets, make sure to check the cleaning product label first as some chemicals can be abrasive and may dull your faucet’s finish. Here are some worry-free pantry products you could use to easily get rid of rust stains:
- Vinegar
Vinegar contains acetic acid that makes it a good cleaner as well as a disinfectant. Its acidic nature helps dissolve rust.
Steps:
– Prepare a rag soaked in undiluted vinegar. Leave it on for 15 minutes.
– Scrub gently using a sponge or toothbrush.
– Rinse off your faucet then dry it thoroughly, make sure you have removed all the moisture.
Distilled white vinegar is a pretty strong acid, making it corrosive to metals. That’s why it is very important to remove all traces of vinegar as prolonged exposure can damage the surface.
- Salt and Lemon
Lemon can be helpful in removing rust. Salt adds a little abrasion to the mix.
– First, lay a cloth soaked in hot water over the problem area to loosen any dirt or grime.
– In a bowl, combine equal parts of lemon juice and salt into a paste-like consistency. Then, using the lemon peel as an applicator, spread the mixture in a circular motion until the entire surface is coated. Wait for an hour, then scrub gently using a bristle brush.
– Wipe off with a damp cloth to remove the paste and corrosion, and dry with a towel.
- Coca-cola and Aluminum Foil
Coke plus aluminum foil is a lifesaver for removing stubborn stains. Coca-cola contains phosphoric and citric acid, also commonly found in rust removal products. Both acids react with iron oxide therefore breaking it away from the surface.
– Apply the solution. Scrub with foil.
– Rinse off the surface with water. Let it dry.
The downside of this method is it can be quite challenging to remove the cola when it gets sticky.
Rust Prevention
Toothpaste, mouthwash, and household cleaners contain ingredients that can damage faucet finishes when they are left in contact for a long time – making it more prone to rust. Hence, remember to clean away any residue.
Avoid using any abrasive cleaners or scrubbing pads on the faucets since any micro-scratches will invite corrosion. If it’s already scratched badly, we would suggest filling up cracks with car wax to protect against future rust issues. Whichever methods you decide to use, any rust issues need to be addressed immediately – rust stains can and will permanently damage your faucets.
The steps you take right now will save you from unwanted expenses to replace your faucet.
Let’s work on getting a clean and rust-free bathroom today!